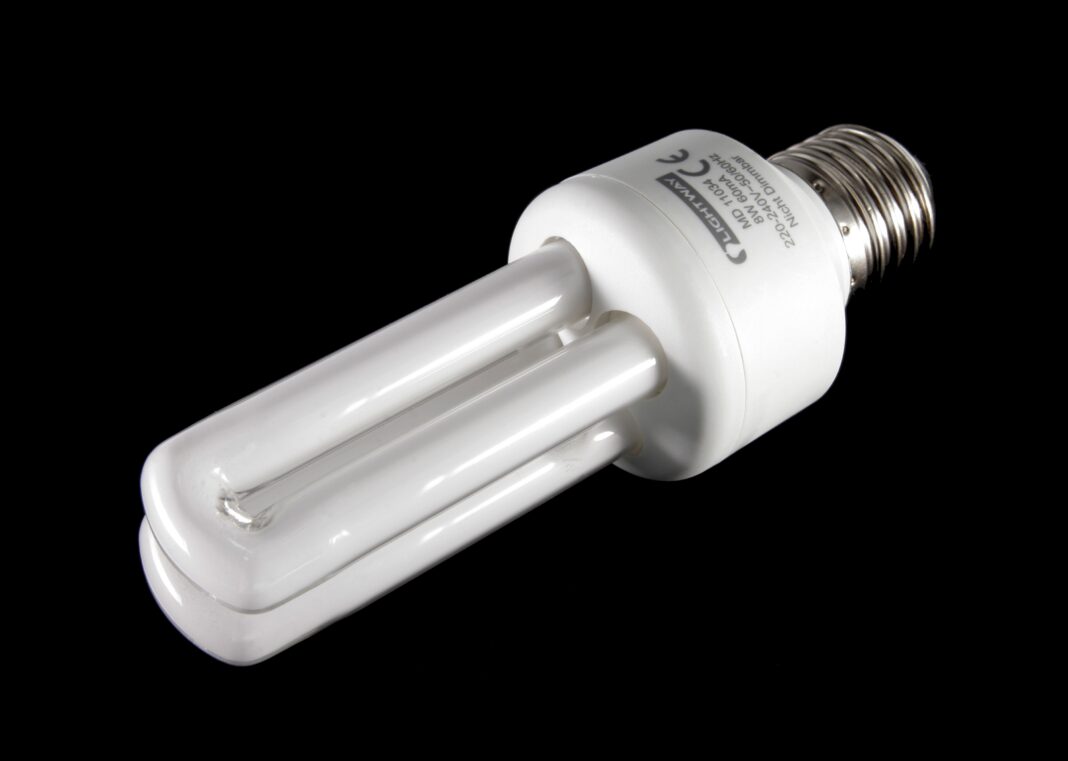

Fluorescent light bulbs are commonly used in homes, offices, and various commercial settings due to their energy efficiency and long lifespan. While they can last for many years, eventually, they will need to be replaced. If you’re unsure about how to change a fluorescent light bulb, don’t worry! In this article, we will provide you with a detailed how to change fluorescent light bulb, step-by-step guide to help you successfully replace a fluorescent light bulb on your own.
How to change fluorescent light bulb
Crown molding is typically installed at the top edge where the cabinets meet the ceiling. It serves to conceal any gaps or inconsistencies between the cabinets and the ceiling, creating a seamless transition. Beyond its practical function, crown molding is also a design element that can significantly impact the aesthetic appeal of your kitchen.
How to Safely Change a Fluorescent Light Bulb Without Risk
Replacing a fluorescent bulb should always start with safety: first turn off power at the circuit breaker to avoid electric shock, and confirm there’s no voltage with a tester before touching the fixture. Once the power is off, gently remove any cover or diffuser, then carefully rotate and take out the fluorescent tube — supporting it with both hands to prevent breakage. When installing the new bulb, align its pins with the fixture’s sockets and rotate until it locks in place. This simple yet cautious process ensures you maintain safe lighting operations and avoid accidents or fixture damage.
Materials Needed
- New fluorescent light bulb (make sure it matches the specifications of the existing bulb).
- Stepladder or sturdy stool (if needed).
- Safety gloves (optional but recommended).
- Safety goggles (optional but recommended).
- Screwdriver (if required for your specific fixture).
- Cleaning cloth or paper towel (to clean the fixture if necessary).
Step 1: Turn Off the Power
Safety should always be your top priority when working with electrical fixtures. Begin by turning off the power to the fluorescent light fixture. Locate the electrical circuit breaker panel in your home or office and switch off the circuit that controls the specific light fixture you’ll be working on. To be extra cautious, you can use a non-contact voltage tester to ensure that the power is indeed turned off.
Step 2: Allow the Bulb to Cool
Fluorescent bulbs can become hot during operation, so it’s important to give the bulb enough time to cool down before attempting to replace it. This will help prevent any burns or injuries.
Step 3: Remove the Bulb Cover or Diffuser
Most fluorescent fixtures have a cover or diffuser that protects the bulb. Carefully remove this cover by either sliding it out or gently rotating it counterclockwise, depending on the type of fixture you have. Some fixtures might have clips or screws that hold the cover in place, so if necessary, use a screwdriver to remove them.
Step 4: Remove the Old Bulb
Once the cover is off, locate the fluorescent bulb. Depending on the fixture, the bulb might be held in place by metal clips or a twist-lock mechanism. If there are metal clips, gently push them inward and release, allowing the bulb to drop down slightly. Then, rotate the bulb in the opposite direction of the clips and carefully remove it from the socket. If you have a twist-lock mechanism, rotate the bulb counterclockwise until it unlocks, and then pull it straight down to remove it.
Install the New Bulb
Take your new fluorescent light bulb and align the pins or prongs on the bulb with the slots in the socket. Insert the pins into the socket and rotate the bulb in the opposite direction to lock it in place. If your bulb has a twist-lock mechanism, insert the prongs into the socket and twist it clockwise until it locks securely.
Replace the Bulb Cover or Diffuser
After successfully installing the new bulb, it’s time to put the bulb cover or diffuser back in place. Align the cover with the fixture and slide it in or rotate it clockwise, depending on the type of fixture you have. Make sure it is secure and properly positioned.
Turn On the Power
Now that the new bulb is installed and the cover is in place, it’s time to restore power to the fixture. Go back to the electrical circuit breaker panel and switch on the circuit that controls the fluorescent light fixture. Head back to the fixture and turn on the light switch to test if the new bulb is working correctly. If it doesn’t light up, double-check the bulb installation and ensure the power is properly restored.
Benefits of Installing Crown Molding
Aesthetic Enhancement: Crown molding adds a decorative flair to kitchen cabinets, making them appear more luxurious and refined.
Conceals Imperfections: It covers gaps and uneven edges between the cabinets and ceiling, providing a smooth and cohesive look.
Personalization: With various styles and materials available, you can choose crown molding that complements your kitchen’s style, whether it’s traditional, modern, or eclectic.
Value Addition: Installing crown molding can increase the resale value of your home by improving the overall look and appeal of your kitchen.
Installation Process
Installing crown molding requires careful planning and precision. Here are the basic steps involved:
Measure and Plan: Measure the length of each cabinet where the crown molding will be installed. Plan the layout, considering corners and angles.
Cutting: Use a miter saw to cut the crown molding at precise angles according to your measurements and the layout plan.
Installation: Attach the crown molding to the cabinets using finishing nails or construction adhesive. Ensure it is flush against both the cabinet and the ceiling.
Finishing: Fill any nail holes with wood putty, sand the surface smooth, and paint or stain the crown molding to match your cabinets.
Tips for Successful Installation
Accurate Measurements: Take precise measurements and plan the layout carefully before cutting any materials.
Quality Tools: Invest in good-quality tools such as a miter saw and level to ensure accurate cuts and installations.
Professional Help: If you’re not confident in your carpentry skills, consider hiring a professional to install the crown molding for you.
The Future of Fluorescent Lighting
As lighting technology continues to advance, newer alternatives such as LED (Light-Emitting Diode) bulbs have gained prominence due to their even greater energy efficiency and longevity. However, fluorescent bulbs remain a reliable and cost-effective choice for many applications, particularly where larger areas need to be illuminated efficiently.
Energy Efficiency and Environmental Benefits of Fluorescent Lighting
Fluorescent light bulbs are widely appreciated not only for their long lifespan but also for their ability to reduce energy consumption compared to traditional incandescent bulbs. They use significantly less electricity while producing the same level of brightness, making them a cost-effective option for both residential and commercial spaces.
Additionally, their lower energy usage helps reduce overall carbon emissions, contributing to a more environmentally friendly lighting solution. Many modern fluorescent bulbs are also designed with improved efficiency and reduced hazardous material content, making proper disposal and recycling an important part of their lifecycle. By choosing and maintaining fluorescent lighting correctly, users can achieve better energy savings while also supporting more sustainable living practices.
Conclusion
Crown molding is a versatile and stylish addition to kitchen cabinets that can transform the look and feel of your entire kitchen. Whether you prefer a classic, modern, or unique design, there’s a crown molding style that can complement your kitchen’s aesthetic perfectly. By following the proper installation steps and choosing the right molding type, you can achieve a polished and sophisticated kitchen that reflects your personal style. Upgrade your kitchen cabinets with crown molding today to create a more luxurious and inviting space that you’ll enjoy for years to come!
If you want to read an interesting article about it, explore our “Craft and tools” category.
FAQs
Crown molding helps to conceal gaps between cabinets and ceilings, enhances the visual appeal of cabinets, and can increase the value of your home. It also adds a touch of elegance and can complement various kitchen styles.
There are various types including traditional crown molding with intricate designs, modern styles with clean lines, and options like Shaker crown molding for a simpler look. You can also find crown molding with integrated lighting for added ambiance.
Flickering can be caused by a faulty ballast, loose wiring, or incompatible bulb type.
Most fluorescent bulbs last between 7,000 and 15,000 hours depending on usage and quality.
Dim lighting may result from an aging ballast, low voltage, or incorrect bulb type.